To partake in a charitable auction, I offered up my design engineering skills to design and 3D print any object of the winner's choice. The lucky participant requested a key holder for his new apartment in San Francisco, for him and his 2 other roommates.
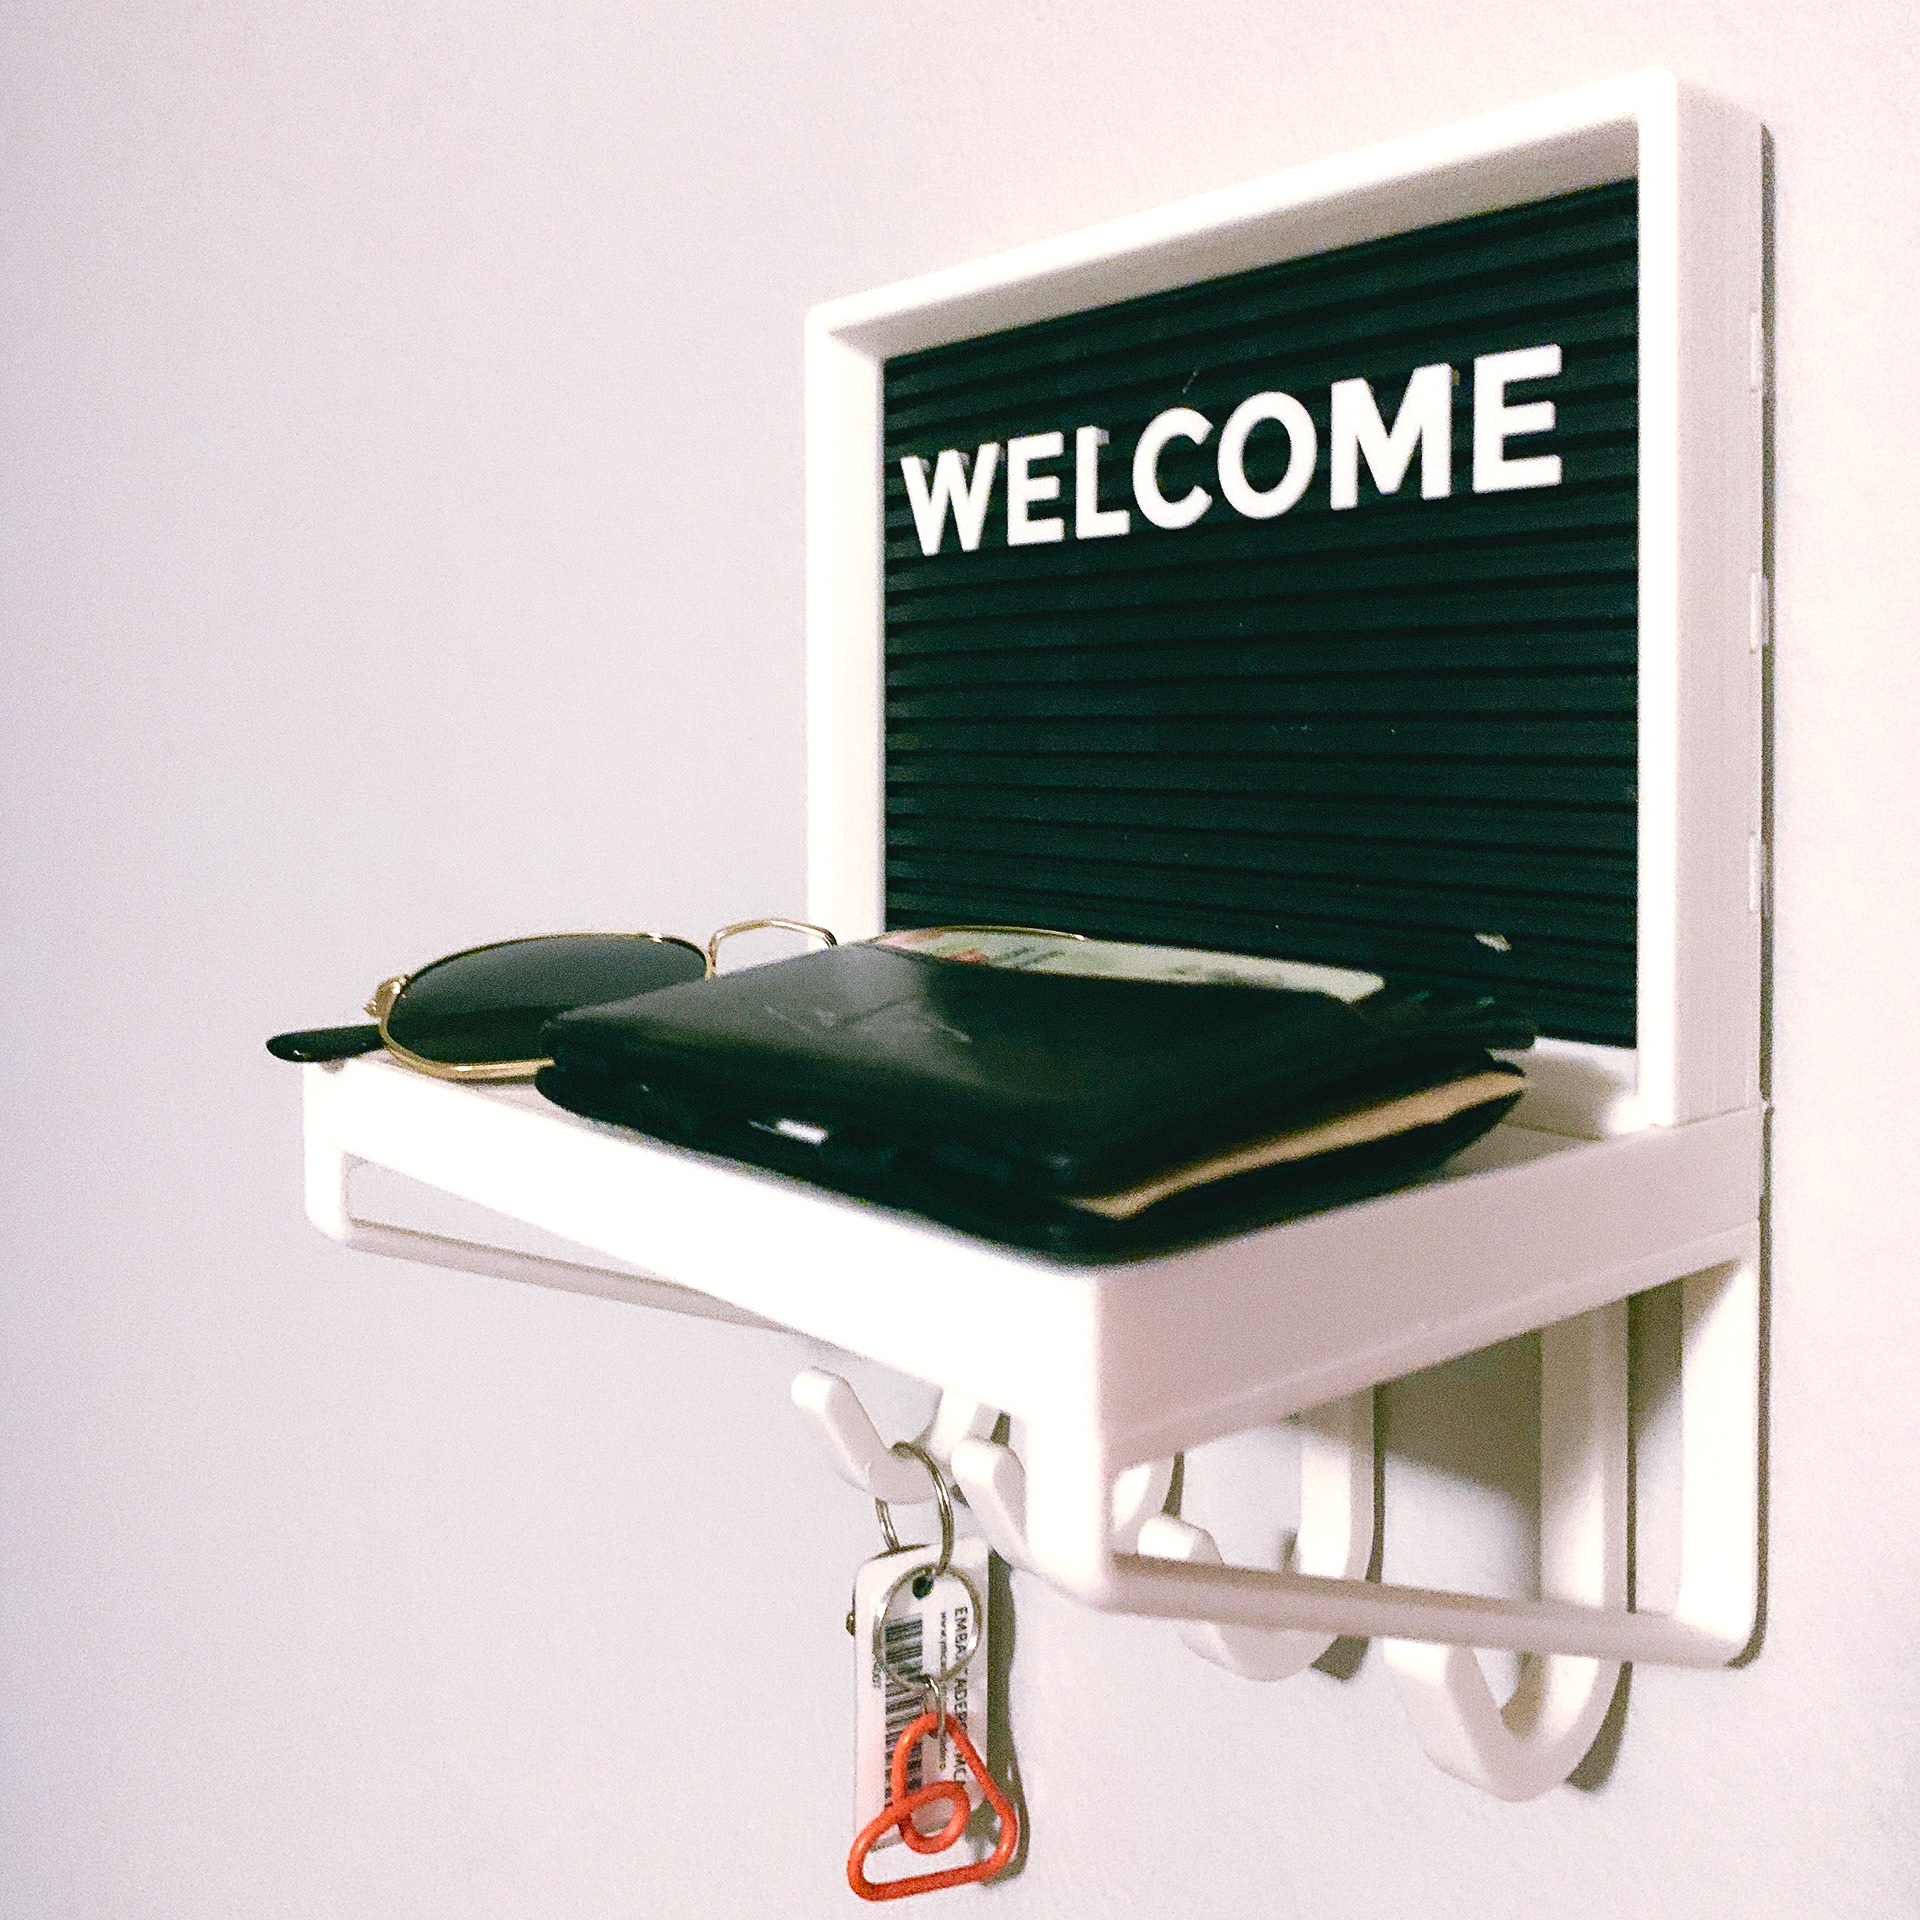
The final product mounted in-home
My process started through a few conversations with the winner, during which he chose the colors. I came with an initial sketch below, with the idea that you could put a shelf and a framed photo above the key hook. My ideas were well received, however instead of a photo, they requested a letter holder for welcome signage and any future messages.
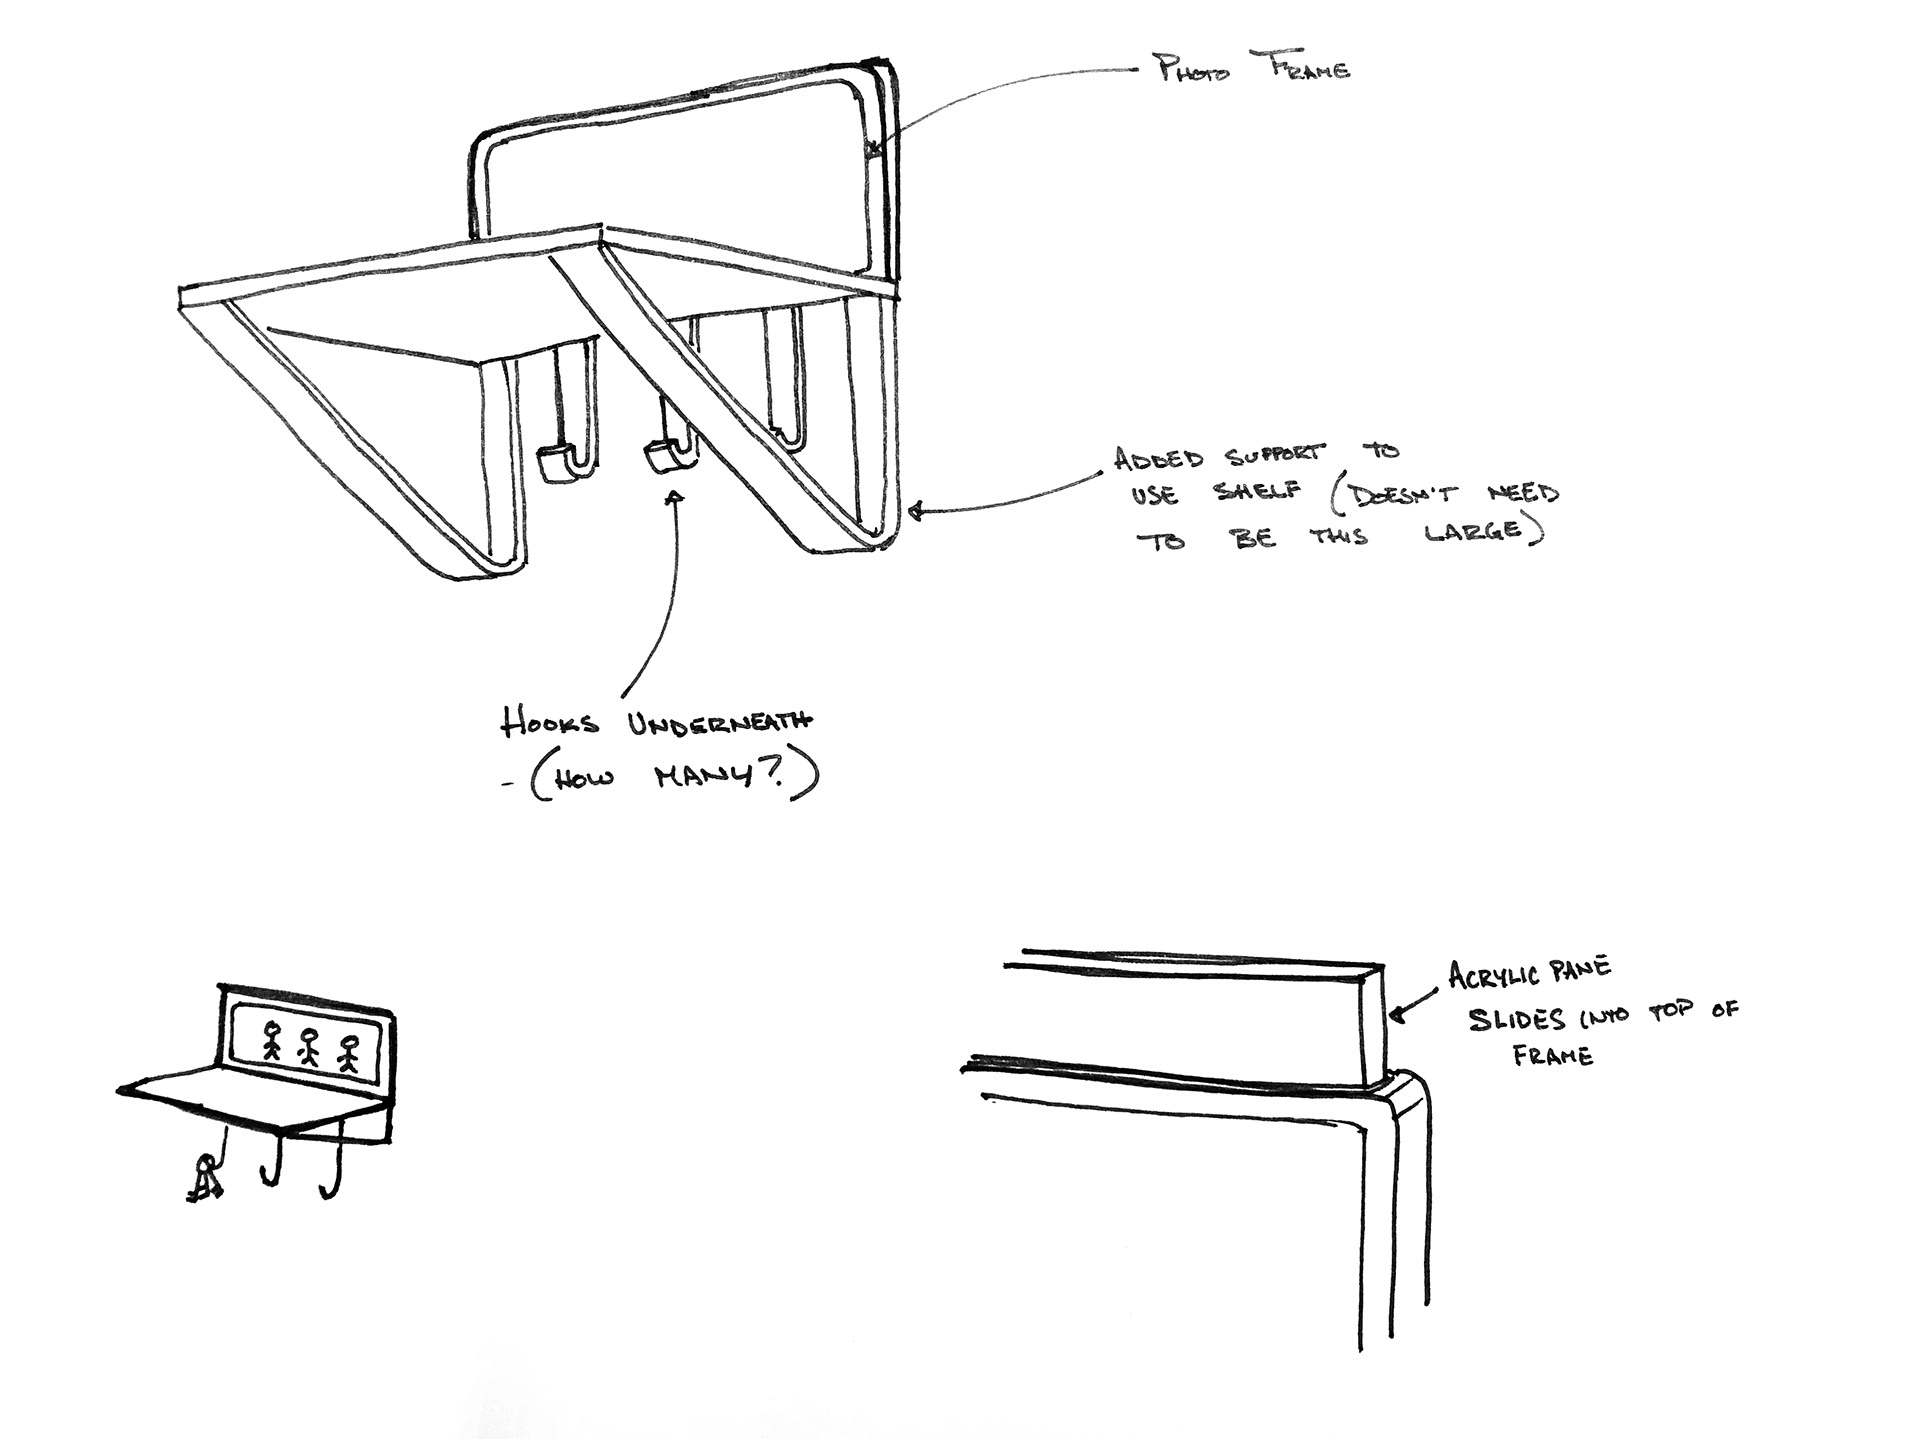
Initial concept sketch I created with a photo frame integrated into the key holder
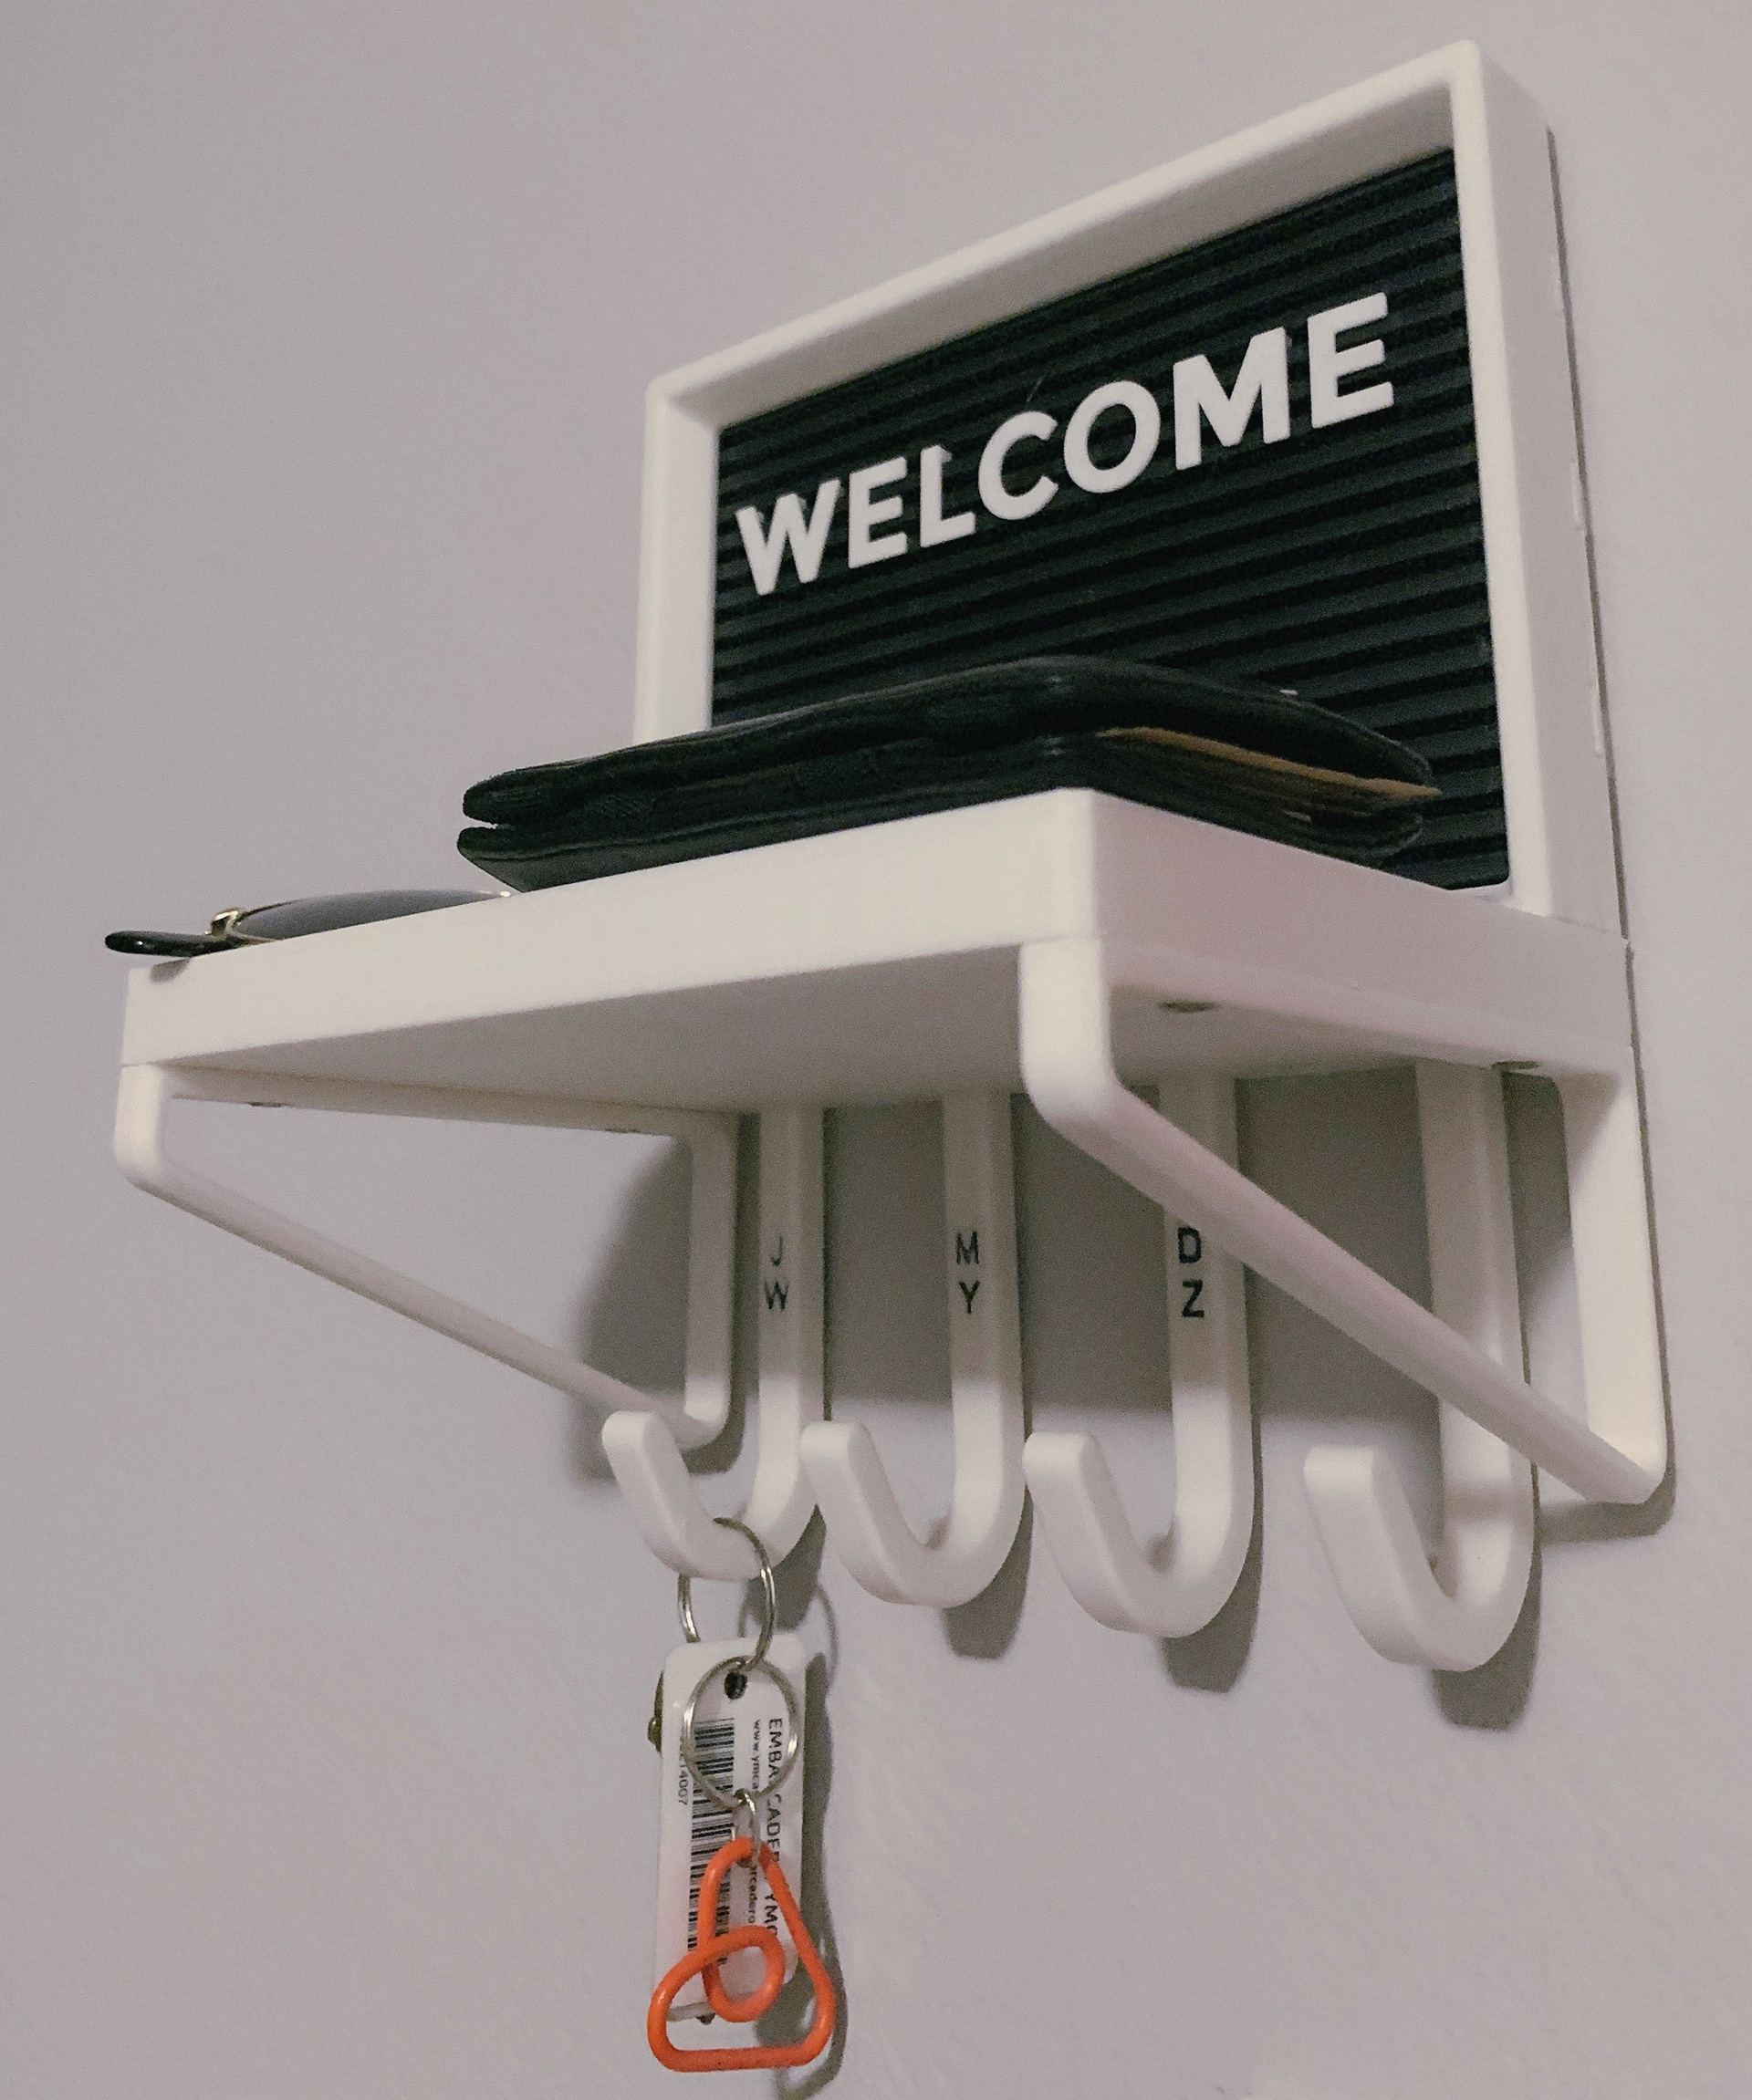
I determined the best wall-mounting system to be adhesive wall-mounting strips, as they are already weight-rated, are easy to place, and easy to remove when needed. The lettering board is held in using flexible support beams so it can be swapped for a picture or anything else in the future. Last, I created enough space for 4 hooks: the winner, his 2 roommates, and a guest hook. I embedded their initials in the first 3 hooks using a separate precision 3D print (SLA) and press fitting them into their respective hooks. The rest of the fixture was printed using an FDM process.
Letting boards are widely available online for 3D print, so to save time I downloaded and printed the board and lettering from an already existing upload to GrabCAD. This saved time it would take to CAD each letter, and 3D printing filament it would take to hit proper letter-insertion tolerances.
Key Takeaways:
• Understanding client requirements and executing on them
• Bringing the client along through the development process to ensure satisfactory results
• Not "re-inventing the wheel" - using what's available to me
• Assembling 3D prints with standard fasteners and inserts